
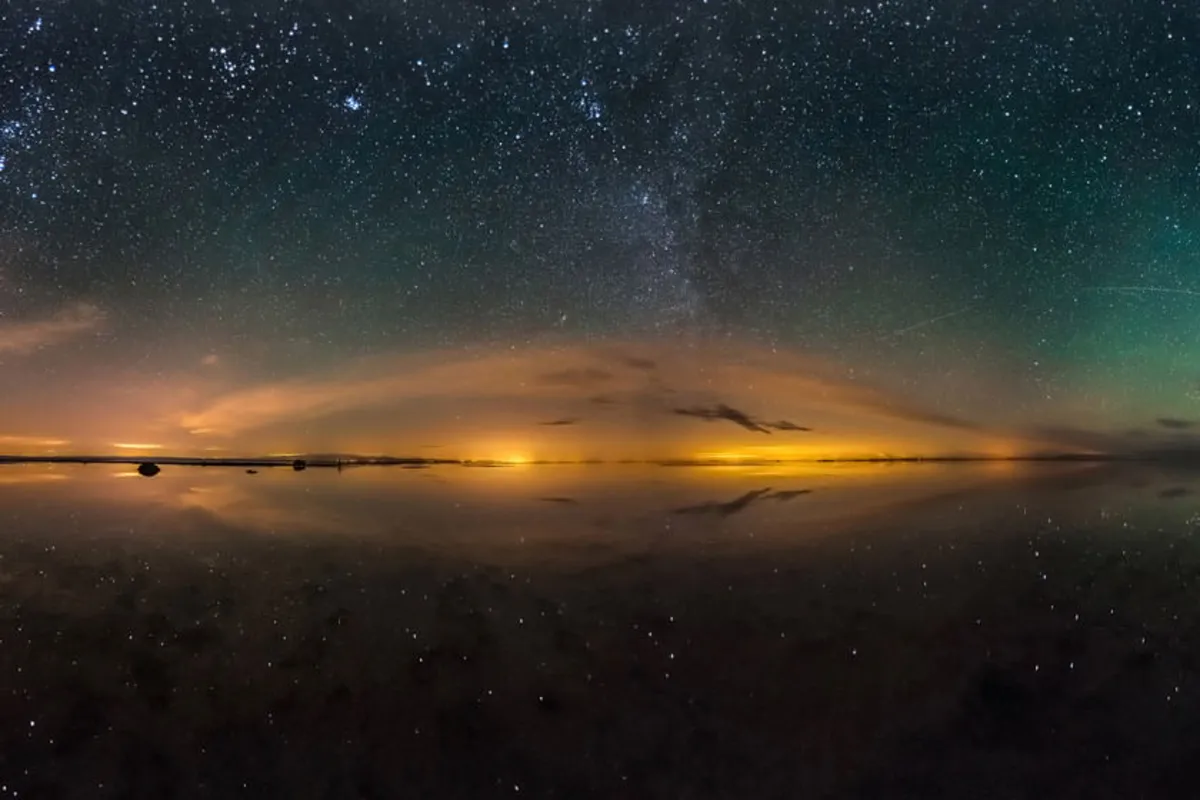
در جهان پرازدحام و پرنور شهرها، آسمان شب اغلب به صفحهای تیره و خالی تبدیل شده است. اما در دل کویر، جایی که آلودگی نوری به صفر میرسد، آسمان هر شب به یک تماشاخانه باشکوه و زنده تبدیل میشود. اینجا، کهکشان راه شیری نه یک افسانه، بلکه رودخانهای درخشان از میلیاردها ستاره است، صورتهای فلکی داستانهای خود را روایت میکنند و شهابها بر پهنه آسمان رقصی گذرا دارند. این مقاله، راهنمای شما برای کشف این گنجینه پنهان و ثبت لحظات ابدی آن خواهد بود.
فهرست
- چرا کویر، بهشتِ ستارههاست؟
- چه چیزی در آسمان کویر میبینیم؟
- راهنمای عملی عکاسی نجومی در کویر
- بهترین زمان برای سفر به تماشاخانه ستارگان
- نکات ایمنی و اخلاقی
- نتیجهگیری: دعوت به سکوت و شکوه
- Starry Spectacle: Astronomy and Astrophotography in the Heart of the Desert
- Why is the Desert a Paradise for Stargazers
- What Can You See in the Desert Sky
- A Practical Guide to Astrophotography in the Desert
- Safety and Ethical Tips
- Conclusion: An Invitation to Silence and Splendor
چرا کویر، بهشتِ ستارههاست؟
۱. آلودگی نوری صفر
آلودگی نوری یا «Light Pollution» بزرگترین دشمن رصدگران آسمان است. نورهای مصنوعی شهرها و جادهها، باعث درخشش ضعیف آسمان (Skyglow) میشوند و اجرام کمنور آسمانی را محو میکنند. در کویر، این مانع به کلی برداشته میشود. تاریکی مطلق، زمینهای خلق میکند که در آن حتی سحابیها و کهکشانهای دوردست نیز با چشم غیرمسلح قابل رؤیت هستند.
۲. هوای پاک و پایدار
هوای مناطق کویری به دلیل خشکی و دوری از منابع صنعتی، معمولاً فاقد رطوبت و غبار است. این هوای پاک و پایداری جو عالی، باعث میشود تصاویر ستارهها کاملاً واضح و بدون سوسو زدن باشند، امری که برای رصد و عکاسی حیاتی است.
۳. افق باز و گسترده
چشم انداز بیابانها معمولاً کاملاً باز و عاری از موانعی مانند کوهها یا درختان بلند است. این افق ۳۶۰ درجه، پنجرهای بینظیر به تمامی گوشههای آسمان شب میگشاید.
چه چیزی در آسمان کویر میبینیم؟
• کهکشان راه شیری (Milky Way)
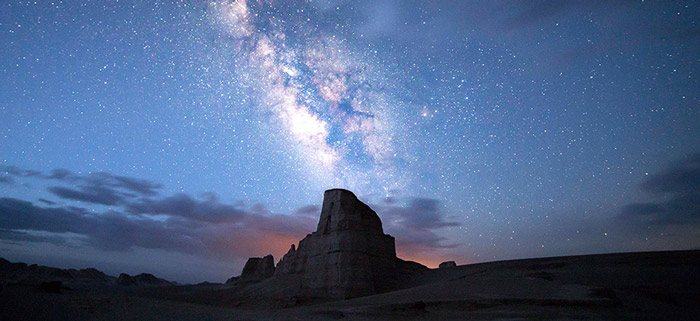
در شبهای تاریک کویر، کهکشان راه شیری نه به صورت یک نوار ابری، بلکه به صورت ساختاری غنی از ابرهای غباری تاریک و خوشههای ستارهای درخشان دیده میشود. هسته مرکزی کهکشان در فصلهای بهار و تابستان به اوج شکوه خود میرسد.
• صورتهای فلکی (Constellations)
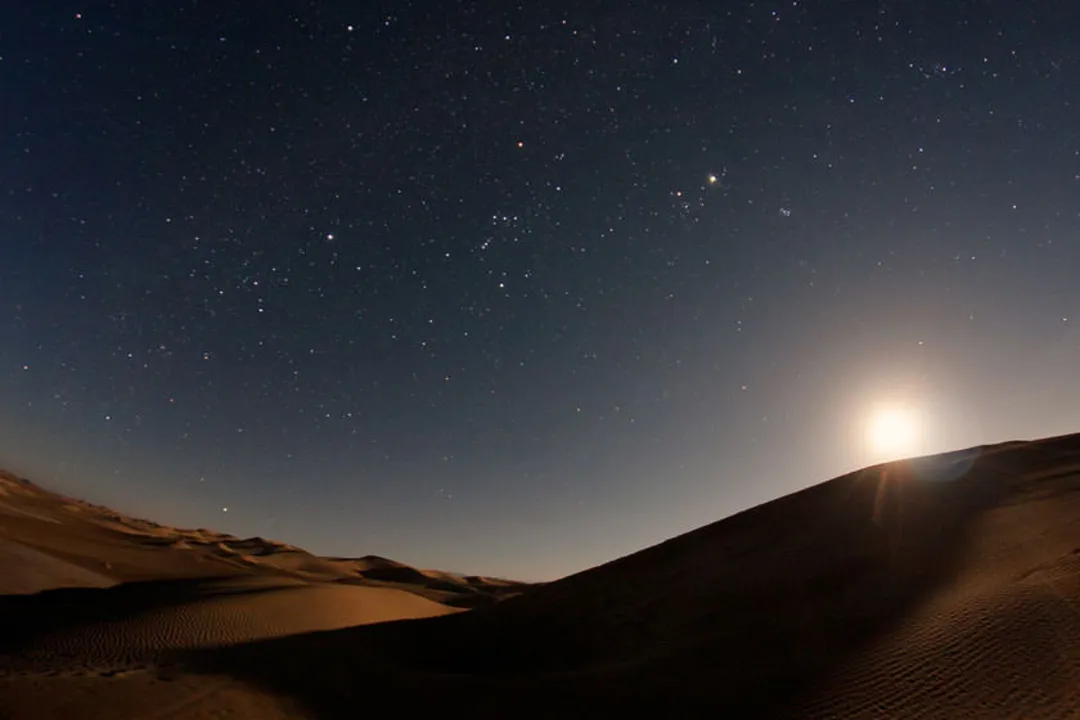
صورتهای فلکی مانند شکارچی (Orion)، دباکبر (Ursa Major) و ذاتالکرسی (Cassiopeia) با جزئیاتی بینظیر و ستارههایی پرنور خودنمایی میکنند. در این تاریکی، حتی صورتهای فلکی کمنورتر مانند دلو (Aquarius) یا حوت (Pisces) نیز به راحتی قابل تشخیص هستند.
• شهاببارانها (Meteor Showers)
تجربه دیدن یک شهاب در آسمان شهری، یک رویداد نادر است. اما در کویر، در شبهای اوج شهابباران (مانند برساوشی در مرداد یا جوزایی در آذر)، میتوان دهها و حتی صدها شهاب در ساعت مشاهده کرد.
• سیارات و اجرام اعماق آسمان (Deep-Sky Objects)
سیاراتی مانند زحل با حلقههایش و مشتری با قمرهایش در تلسکوپ، منظرهای خیرهکننده دارند. همچنین، اجرامی مانند سحابی جبار (M42) و کهکشان آندرومدا (M31) به راحتی با یک تلسکوپ کوچک یا حتی دوربین دوچشمی قوی قابل مشاهده هستند.

راهنمای عملی عکاسی نجومی در کویر
عکاسی نجومی، هنر ثبت این زیباییهای گذراست. برای موفقیت در این مسیر، به سه پایه اصلی نیاز دارید: تجهیزات مناسب، تکنیکهای صحیح و زمانبندی درست.
الف) تجهیزات ضروری
دوربین: یک دوربین DSLR یا بدون آینه با قابلیت تنظیم دستی (Manual Mode) و حساسیت (ISO) بالا.
لنز: یک لنز واید (عریض) با دیافراگم باز (f/2.8 یا پایینتر) مانند لنز ۱۴mm f/2.8 یا ۲۴mm f/1.4. لنزهای واید میدان دید بیشتری را در بر میگیرند و ستارههای بیشتری را ثبت میکنند.
سهپایه محکم: مهمترین وسیله! سهپایه باید کاملاً پایدار باشد تا از هرگونه لرزش دوربین در طی نوردهیهای طولانی جلوگیری کند.
شاتر ریموت یا کابل شاتر: برای گرفتن عکس بدون لمس کردن دوربین و ایجاد لرزش.
باتری اضافی: هوای سرد شب کویر به سرعت باتری را تخلیه میکند. حداقل دو باتری اضافی همراه داشته باشید.
چراغ قوه با نور قرمز: نور قرمز تاثیر کمتری روی تطابق چشم با تاریکی (Dark Adaptation) دارد.
ب) تنظیمات دوربین (پایهای برای شروع)
حالت عکاسی: Manual (M)
تراز سفیدی (White Balance): تنظیم روی حالت «تنگستن» (Tungsten) یا حدود ۳۵۰۰-۴۰۰۰ کلوین برای آسمان آبیتر، یا تنظیم دستی بر اساس شرایط.
فرمت عکس: RAW. این فرمت اطلاعات بیشتری ثبت میکند و در مرحله ادیت انعطافپذیری بالایی دارد.
دیافراگم: کاملاً باز (کوچکترین عدد f مانند f/2.8 یا f/1.8).
سرعت شاتر (زمان نوردهی): از “قانون ۵۰۰” استفاده کنید. عدد ۵۰۰ را بر فاصله کانونی لنز خود تقسیم کنید. حاصل، حداکثر زمان نوردهی به ثانیه است که در آن ستارهها به صورت نقطهای ثبت میشوند و خطی نمیشوند.
مثال: برای لنز ۲۰mm → ۵۰۰ / ۲۰ = ۲۵ ثانیه.
ISO: بین ۱۶۰۰ تا ۶۴۰۰ (بسته به نویز دوربین و میزان تاریکی آسمان). با ISO 3200 شروع کنید و سپس تنظیم نمایید.
ج) ترکیببندی (کمپوزیسیون)
عکسهای نجومی خالص میتوانند زیبا باشند، اما اضافه کردن یک عنصر زمینی (Foreground) به عکس عمق و مقیاس فوقالعادهای میبخشد. از یک درخت خشکیده، یک تپه شنی، یک سنگ منحصربهفرد یا حتی چادر خود به عنوان سوژه پیشزمینه استفاده کنید.
بهترین زمان برای سفر به تماشاخانه ستارگان
شبهای بدون ماه (New Moon): در این شبها، ماه در آسمان نیست و تاریکی مطلق حاکم است. بهترین شرایط برای رصد اجرام کمنور فراهم میشود. تاریخ دقیق آن را میتوان از تقویم قمری یا اپلیکیشنهای نجومی دریافت کرد.
فصلهای بهار و تابستان: در نیمکره شمالی، هسته کهکشان راه شیری در این فصلها پس از غروب آفتاب در آسمان قرار دارد.
هوای صاف: از سفر در شبهای ابری یا پس از طوفان شن خودداری کنید.
نکات ایمنی و اخلاقی
همراهی راهنمای محلی: کویر محیطی غیرقابل پیشبینی است. هیچگاه به تنهایی سفر نکنید.
لباس مناسب: شبهای کویر بسیار سرد میشود. حتماً لباس گرم، کلاه و دستکش همراه داشته باشید.
آب و غذا: به میزان کافی آب و خوراکی مقوی همراه خود ببرید.
احترام به طبیعت: تنها ردپا به جا بگذارید و تنها عکس بگیرید. تمام زبالههای خود را بازگردانید. از روشن کردن آتش در مناطق ممنوعه خودداری کنید.
تطابق با تاریکی: حداقل ۲۰ دقیقه به چشمان خود زمان دهید تا کاملاً با تاریکی عادت کنند. از نگاه کردن به صفحه موبایل یا چراغ قوههای سفید خودداری کنید.
نتیجهگیری: دعوت به سکوت و شکوه
کویر بیش از آنکه یک مقصد سفر باشد، یک تجربه است. تجربه سکوت مطلق، عظمت طبیعت و کوچکی انسان در برابر کیهان بیکران. عکاسی و رصد نجومی در کویر، تنها یک سرگرمی نیست، بلکه سفری درونی است که به ما یادآوری میکند بخشی از یک کل بزرگتر هستیم.
پس سهپایه خود را برپا کنید، دوربین را روی بینهایت فوکوس کنید و شاتر را بفشارید. شما در حال ثبت نیستید؛ شما در حال دعوت دیگران به تماشای تماشاخانه رایگان و باشکوه خداوند هستید.
سفرتان پرستاره باد!
Starry Spectacle: Astronomy and Astrophotography in the Heart of the Desert
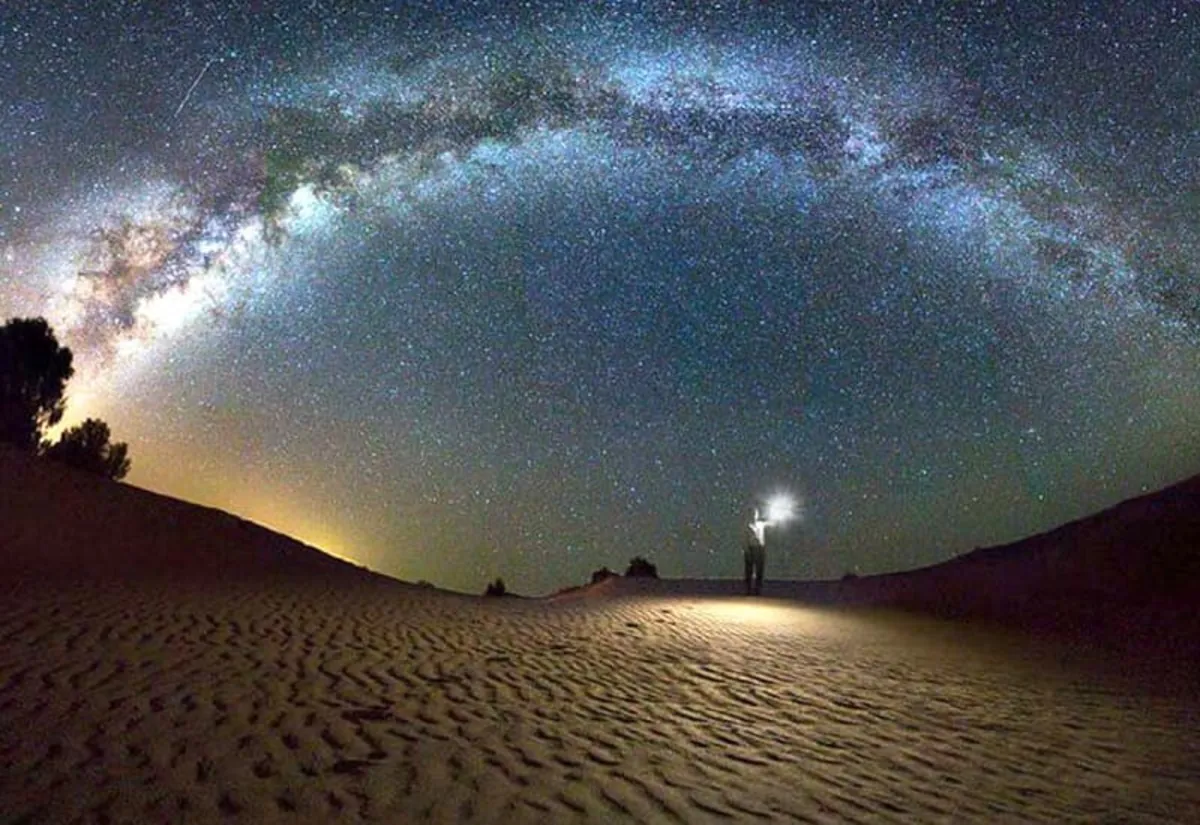
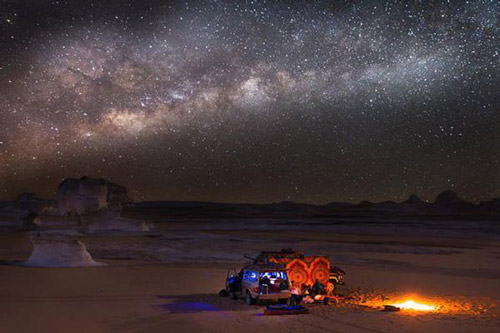
In the bustling, brightly-lit world of our cities, the night sky has often become a dark and empty canvas. But in the heart of the desert, where light pollution drops to zero, the sky transforms each night into a magnificent and living spectacle. Here, the Milky Way is not a myth, but a luminous river of billions of stars; constellations tell their own stories, and meteors perform a fleeting dance across the expanse of the heavens. This article will be your guide to discovering this hidden treasure and capturing its eternal moments
Why is the Desert a Paradise for Stargazers
Zero Light Pollution
Light pollution is the greatest enemy of sky watchers. The artificial lights of cities and roads create a faint skyglow that washes out faint celestial objects. In the desert, this barrier is completely removed. The absolute darkness creates a backdrop against which even distant nebulae and galaxies become visible to the naked eye
Clean and Stable Air
The air in desert regions, due to its dryness and distance from industrial sources, is typically devoid of humidity and dust. This clean air and excellent atmospheric stability (“seeing”) mean that images of the stars are perfectly sharp and without twinkling—a vital condition for both observation and photography.
Vast, Open Horizon
The landscape of deserts is usually completely open and free of obstacles like mountains or tall trees. This 360-degree horizon opens a unique window to every corner of the night sky
What Can You See in the Desert Sky
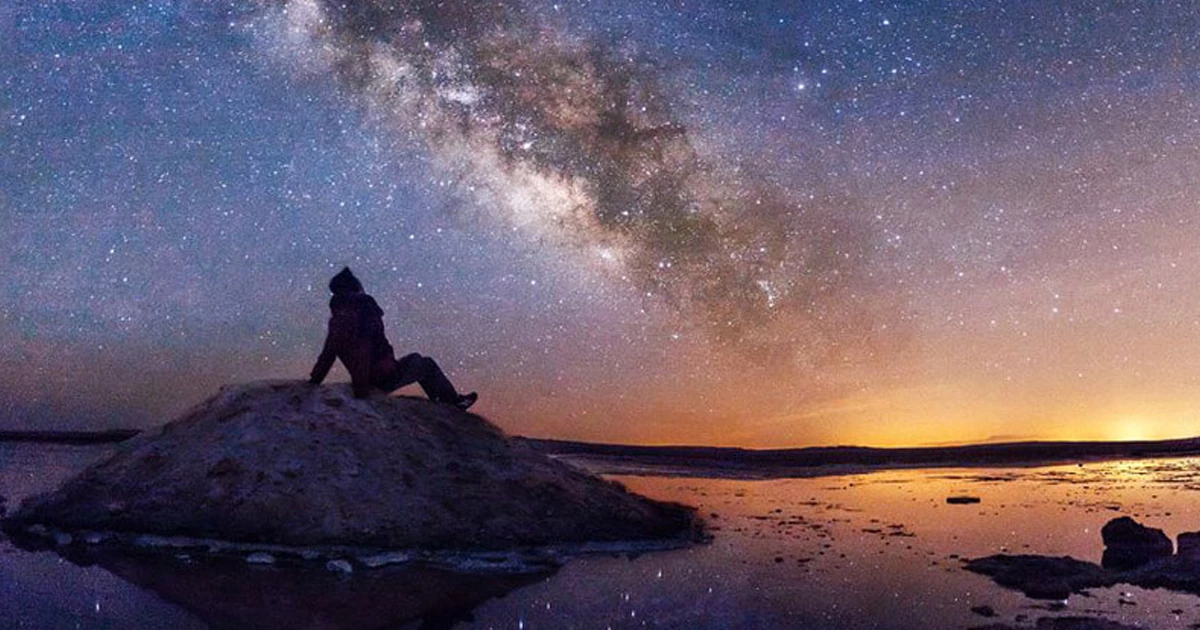
The Milky Way: On dark desert nights, the Milky Way is seen not as a mere cloudy band, but as a rich structure of dark dust clouds and bright star clusters. Its galactic core reaches its peak splendor in the spring and summer seasons
Constellations: Constellations like Orion, Ursa Major, and Cassiopeia reveal themselves with unparalleled detail and bright stars. In this darkness, even fainter constellations like Aquarius or Pisces are easily distinguishable
Meteor Showers: Experiencing a shooting star in a city sky is a rare event. But in the desert, on the peak nights of meteor showers (like the Perseids in August or the Geminids in December), one can witness dozens, even hundreds, of meteors per hour
Planets and Deep-Sky Objects: Planets like Saturn with its rings and Jupiter with its moons offer stunning views through a telescope. Furthermore, objects like the Orion Nebula (M42) and the Andromeda Galaxy (M31) are easily observable with a small telescope or even powerful binoculars
A Practical Guide to Astrophotography in the Desert
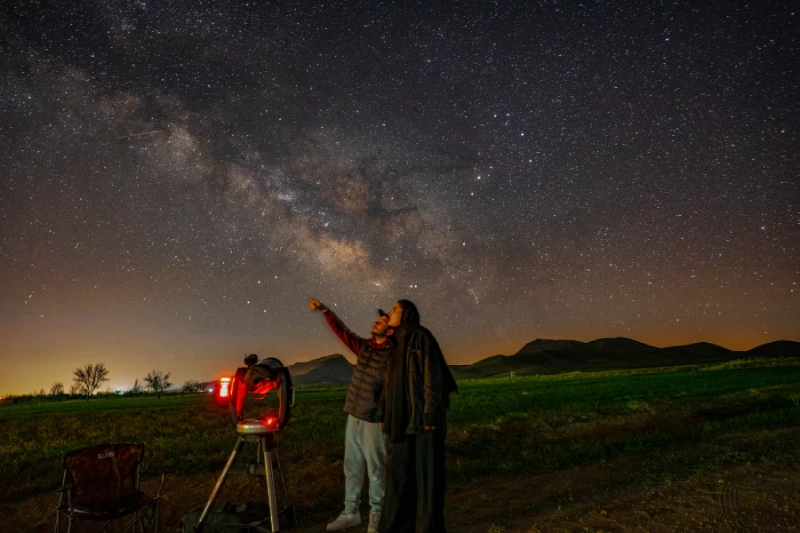
Astrophotography is the art of capturing these fleeting beauties. To succeed, you need three main pillars: suitable equipment, correct techniques, and proper timing
A) Essential Equipment
Camera: A DSLR or Mirrorless camera with Manual Mode and high ISO capability
Lens: A wide-angle lens with a wide aperture (f/2.8 or lower) such as a 14mm f/2.8 or 24mm f/1.4. Wide-angle lenses cover a larger field of view and capture more stars
Sturdy Tripod: The most important tool! The tripod must be completely stable to prevent any camera shake during long exposures
Shutter Remote or Cable Release: For taking photos without touching the camera and causing vibration
Extra Batteries: The cold desert air drains batteries quickly. Bring at least two extra batteries
Red Light Headlamp/Flashlight: Red light has less impact on your eyes’ dark adaptation
B) Camera Settings (A Starting Point)
Shooting Mode: Manual (M)
White Balance: Set to “Tungsten” or around 3500-4000 Kelvin for a bluer sky, or adjust manually based on conditions
Image Format: RAW. This format captures more information and offers greater flexibility in post-processing
Aperture: Wide open (smallest f-number like f/2.8 or f/1.8)
Shutter Speed (Exposure Time): Use the “500 Rule.” Divide 500 by the focal length of your lens. The result is the maximum exposure time in seconds before stars begin to appear as trails
*Example: For a 20mm lens → ۵۰۰ / ۲۰ = 25 seconds.*
ISO: Between 1600 and 6400 (depending on your camera’s noise performance and the sky’s darkness). Start with ISO 3200 and adjust
C) Composition
Pure astrophotography shots can be beautiful, but adding a terrestrial element (foreground) gives the photo incredible depth and scale. Use a lone dead tree, a sand dune, a unique rock, or even your own tent as a foreground subject
The Best Time to Visit the Starry Spectacle
Moonless Nights (New Moon): On these nights, the moon is not in the sky, and absolute darkness prevails. This provides the best conditions for observing faint objects. Check a lunar calendar or astronomy apps for precise dates
Spring and Summer Seasons: In the Northern Hemisphere, the core of the Milky Way is positioned in the sky after sunset during these seasons
Clear Weather: Avoid nights that are cloudy or follow sandstorms
Safety and Ethical Tips
Go with a Local Guide: The desert is an unpredictable environment. Never travel alone
Proper Clothing: Desert nights get very cold. Be sure to bring warm clothes, a hat, and gloves
Water and Food: Carry sufficient water and nutritious snacks
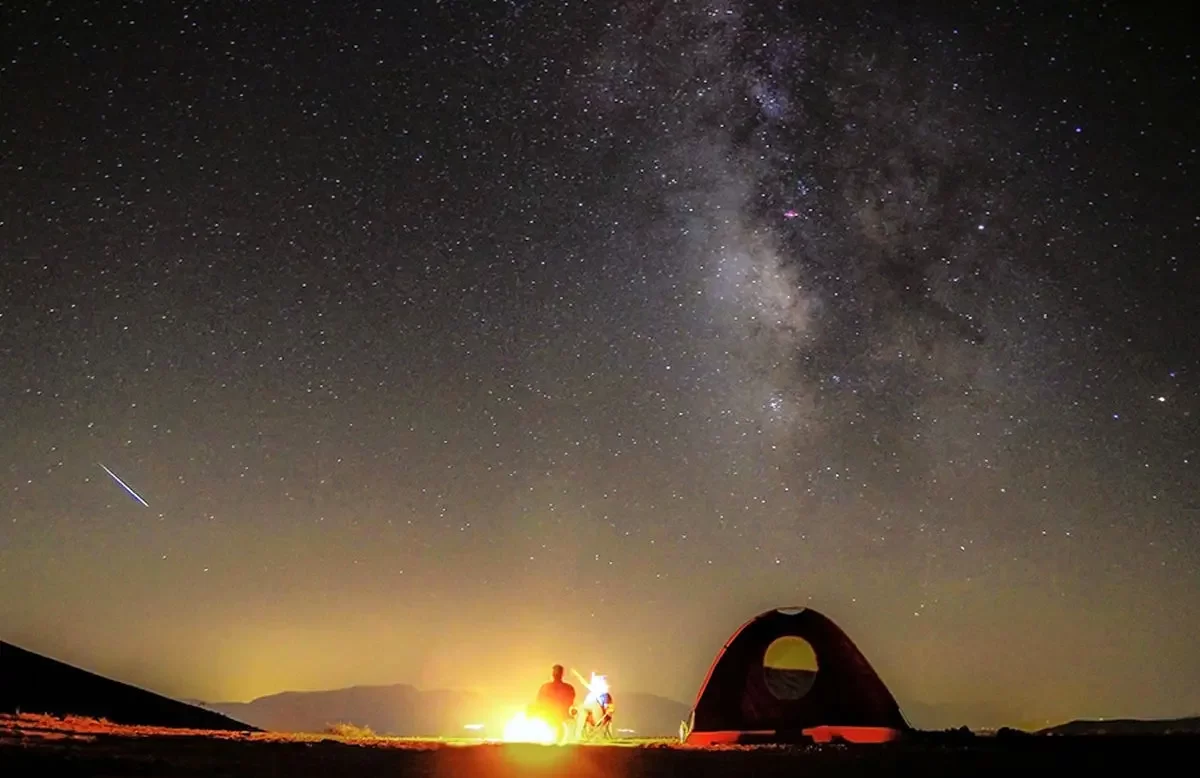
Respect Nature: Take only pictures, leave only footprints. Pack out all your trash. Avoid lighting fires in prohibited areas
Dark Adaptation: Allow your eyes at least 20 minutes to fully adjust to the darkness. Avoid looking at your phone screen or white flashlights
Conclusion: An Invitation to Silence and Splendor
The desert is more than a travel destination; it is an experience. An experience of absolute silence, the grandeur of nature, and the smallness of humanity against the boundless cosmos. Stargazing and astrophotography in the desert are not merely hobbies; they are an inward journey that reminds us we are part of a greater whole
So, set up your tripod, focus your lens to infinity, and press the shutter. You are not just capturing an image; you are inviting others to behold the free and magnificent spectacle of the cosmos


